
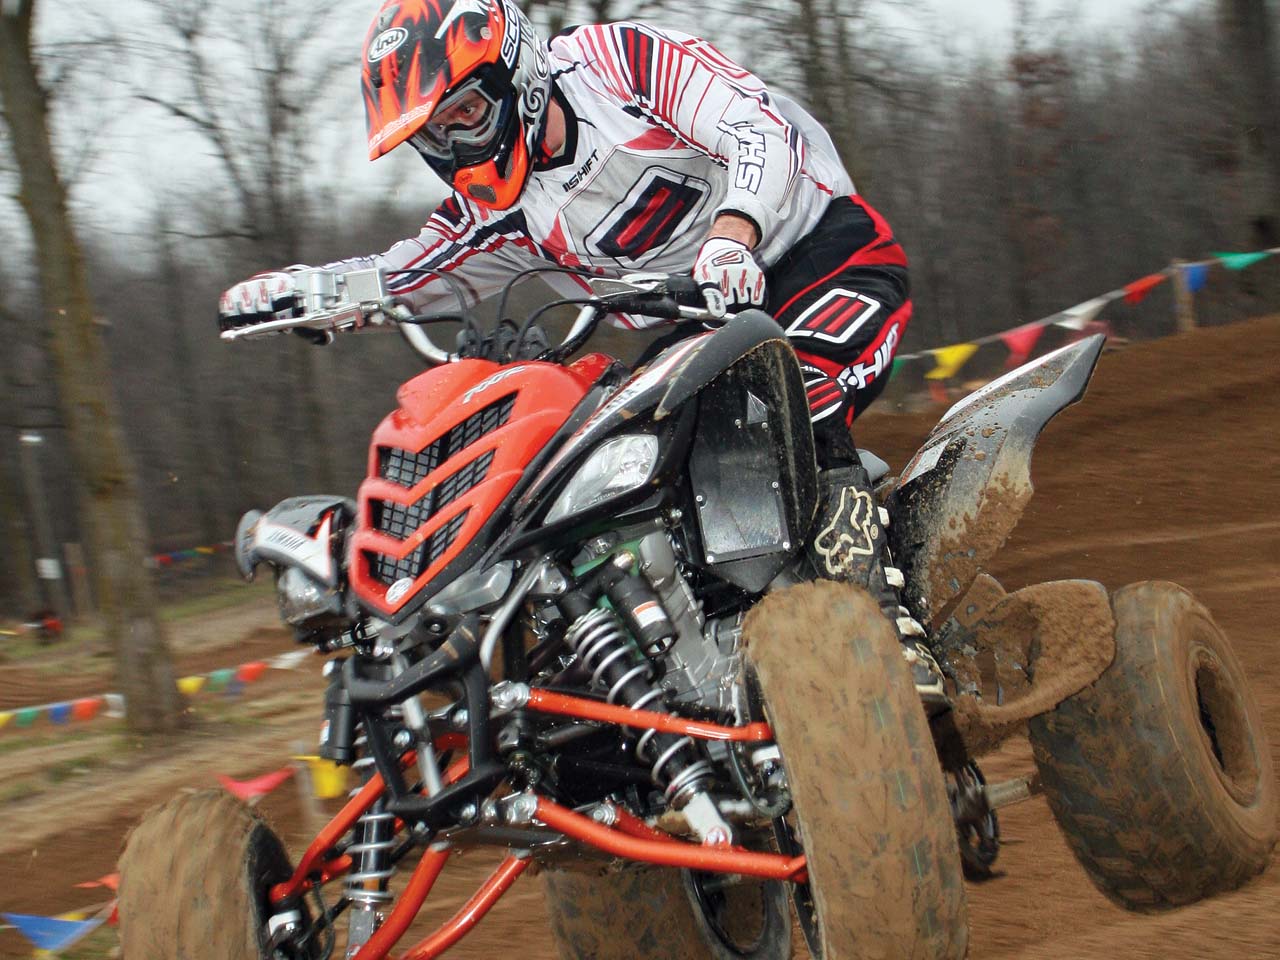
 Ever had that feeling your ATV or Side x Side didn’t know where it wanted to be on the trail, darting from one side to the other like a beagle chasing a rabbit and you were just along for the ride? You’ve most likely got a front end alignment problem, but luckily a quick and easy adjustment can keep you on the straight and narrow.
Toe-In Basics
It’s easy enough to determine if your front end is out of alignment. All quads and Side x Sides naturally try to follow ruts, but if your toe-in is set wrong, typically you will notice the front end is very “darty” and won’t hold its line even on a smooth trail as it wanders from side to side. A simple check is to find a smooth trail and take it for a quick ride. If it feels skittish, it’s time to break out the tools.
On a stock ATV or Side x Side, there really only is one alignment adjustment you can make, and unless you’ve got custom built, aftermarket A-arms on your vehicle, all you can adjust is the “Toe-In”. The manufacturers set the caster and camber when they built your machine, but toe-in is the amount the front wheels are pigeon-toed or off parallel to each other. This can be adjusted with the tie rods. A hard hit to the front wheel can change your toe-in, and we’ve even found the toe-in to be out of spec on new machines that were not properly checked by the dealer.
All ATVs and Side x Sides have a routine maintenance schedule in the owner’s manual, but they don’t all list toe-in specs or when to check it. Regardless of whether it is a heavy duty utility ATV, a sport quad, or a Side x Side, the task is essentially the same and with a couple tools and a buddy, a minor adjustment can make a huge difference in handling.
Tool Time
The internet is full of questionable tips and techniques on how to adjust your front end. Most neglect one of the biggest factors in correct toe-in specifications: ride height. For the best handling, you want to adjust your front end for the ride height when it is going down the trail with you and any gear on it. Most internet front end wizards make their adjustments with your machine on a stand or with no load on the front end, and that’s a little like trying to adjust the air pressure in tires that haven’t been mounted on the rim. Here are the steps to better handling.
1. Check Tire Pressure. Set the correct tire pressure as called for in the manual, or to where you normally like it. On most machines we like our tire pressure a pound or two higher on the front tires, and generally one pound higher at the rear. The exception to this would be for the sand dunes or extremely loose terrain where we would be at or below the recommended tire pressure specs for the machine. This would help us maintain flotation. In all other cases, we are a little higher, however. Whatever pressure you prefer, make sure the pressure is identical side to side. your quads tracks perfectly. Toe-out and it can be darty on the trail.")
2. Level Playing Field. Get the machine on a level surface. Now is the time to insure proper ride height, and although the suspension will include some “sag” on its own, you’ll want your buddy to hop aboard to get it to your normal ride height. If you usually carry a lot of gear, you’ll want to account for that also. You want the machine to sit like it would with you on it for your normal type of riding.
3. Center the Bars or Steering Wheel Make sure the handlebars or steering wheel are centered exactly and not cocked to one side or the other. It goes without saying to make sure your handlebars haven’t been bent from a crash before you do this as well. It does no good to adjust the tie rods only to have the bars pulled to one side. Usually you can do this with a simple visual check and a careful eye as you compare the handlebars to part of the frame, steering column mounting block, bodywork, etc. Some riders will fasten a tie-down between the bars and the rear racks and measure the distance from the bar ends to a common point on the racks until they are equal.
4. Take a Measurement. This is the time to be consistent and precise. You must take your measurement from the exact height of the axle center (half way up the tire), and you must measure from identical points on the wheel. Some riders like to measure from the center of the wheel tread, but we always measure from the inside of the front wheel rim. It’s a little easier to get a reading from the steel or aluminum wheel than from a rubber edge. To get an accurate measurement, first verify the handlebars are perfectly set, then at the forward most point of the wheel and at the exact height of the axle, measure the distance from the inside of the right wheel to the inside of the left wheel. Remember that dimension. Now move to the back of the wheel, and at that same point at the rear of the wheel (and at the exact height of the axle), again measure the distance from the inside of the right wheel to the inside of the left wheel.
Proper toe-in specs vary, but here are a few guidelines to follow.
Sport Quads Require Toe-In. This gives them nimble, precise handling. We generally want the dimension from the inside of the front rims to be 1/8 to 1/4 inch LESS than the distance at the rear of the rims.
Utility ATVs and Side-x-Sides. Most Utlity ATVs and Side x Sides are toed out from the factory. This adds to stability, especially with a heavy, suspension compressing load on the front, but also makes them wander on the trails. Just because it came that way from the factory doesn’t mean it’s perfect for you, however, and it’s well worth adjusting. We would toe out for stability no more than 1/4 inch, or toe in no more than 1/4 inch for more precise handling.
5. Adjust Toe-In. This must be done on both tie rods equally. First loosen the lock nuts then give each tie rod a small twist using either your hand or a wrench on the small flats. Remember one end of the Tie Rod and locking nut will also have a left hand thread! A little movement goes a long way and a quick measurement check will show how much you’ve moved each tie rod. When you get the toe-in corrected, then retighten the lock nuts as you hold a wrench on the tie rod flats to prevent it from moving. You will also want to verify the rod ends remain flat to the wheel spindle or the steering stem mounting plate and are not cocked to one side which could cause them to bind. With all lock nuts tightened, again verify your measurements to insure nothing has moved on you. Remember to do all this for your correct ride height with your buddy and any load still on the machine just like when you started.
6. Check Ride. Before heading back to the trail, you’ll want to verify both tie rods have approximately the same amount of thread showing. Some manufacturers will even specify the maximum amount of thread and it’s important to have equal amounts of thread for proper handling and to decrease the risk of bending or breaking of either tie-rod. If everything looks good, your measurements have been verified, and everything has been tightened, it’s time to take your machine out for a test ride. Begin your ride slowly to get used to the handling. Hopefully, you’ll feel an immediate improvement.
Toe and Go
Adjusting your toe-in makes a huge difference in handling, and it’s not only more fun to have more precise control over your machine, it’s also safer. Making adjustments and dialing in your steering and suspension to what works best for you is easy, takes little time, and is part of the fun of ownership.
 |
 |
 |


