TWO MINUTE REVIEW
SuperATV RHINO 2.0 AXLE

By Staff
In every ATV or Side x Side rider’s life, there will come a special time when you have to change an axle. It’s rarely a joyous occasion, and nobody is going to give you a trophy, offer a heart-felt congratulations, or even send a card. The best thing you can do to make sure you never have to change an axle again is to install a quality axle the first time. For us that means a Rhino 2.0 axle from Super ATV.
A NEW RHINO
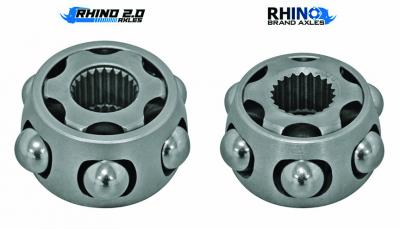
The Rhino had been SuperATVs incredibly popular, better-than-OEM replacement axle for many years. The trouble was, as machines got bigger and weights and loads increased so did the need for a new, even stronger axle. As a result, SuperATV went back to the lab and came up with an all-new design. Everything from the steel used (4340 Chromoly) to the heat treating was examined, tested, and retested. The result is an axle that surpasses the original in every way. It’s thicker, more precise, offers more angular change at the CV joints, comes with bigger bearings and cages, and it’s just plain stronger. Even the grease was tested to find improvements! It’s what you want in an upgrade axle. Key features of the Rhino 2.0 axles are:
· Twice as strong as stock axle
· CAD designed and CNC turned & ground for extreme precision and fit.
· A 4mm increase in diameter for extra strength.
· 4340 Chromoly steel heat treated to increase strength without becoming brittle.
· Both lab and field tested to prove durability under real world conditions.
· Best in the sport 18 month warranty!
Recently we swapped out the axles in our hard playing and occasionally working Polaris General. The difference is easy to see from the moment you open the box. The SuperATV axles just have a quality look, and when parts look good it’s easy to have confidence in them.
Changing out an axle isn’t really that difficult, but it can be a whole lot easier if you wash the machine first. Dirt falling into precision parts is never a good thing. After that it’s just a matter of following a few simple steps.
1.
LIFT KIT. Get your floor jack to work and lift your machine. It’s important to unload the suspension with the wheel completely off the ground so you have room to maneuver parts on and off the machine. When you’ve got the tire completely off the ground, install safety blocks under the frame to keep it from coming down unexpectedly.
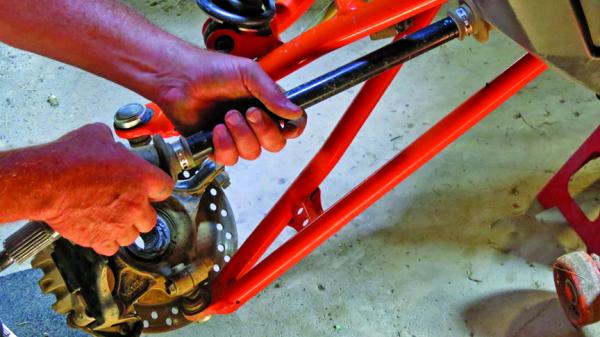
Removing the wheel upright. First pull the cotter pin, then remove the 27mm axle bolt.
2.
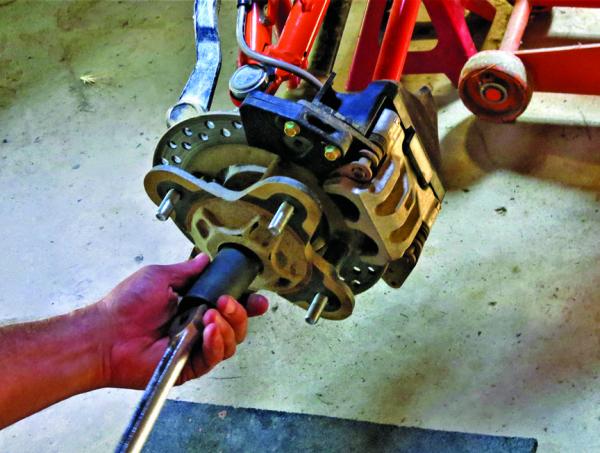
WHEEL NUTS. Remove the tire, and the center wheel hub. You’ll have to pull the center cotter pin, and the large center axle nut. This is much easier with an air wrench or electric impact. (They spin fast enough to break the axle nut loose).
3.
BRAKE TIME. On most machines you’ll have to remove the brake caliper as well. Swing the brake caliper out of the way, but do not squeeze the pads together. Make sure nobody pumps the brakes while they are off.
4.
BALL JOINT. You’ll need to remove at least one ball joint from the wheel upright. (Uprights are also sometimes known as the steering knuckle.) With one ball joint removed from the A-arm you can now slide out the old axle. Most come free from the differential with a good yank. However, others like Arctic Cat require you to actually push the axle inboard which releases an internal spring as you hold the outer housing by the CV joint.
With the wheel upright out of the way you can now pull the axle from the differential by giving it a good yank.
TIP…. A tie down strap can hold the upper A-arm out of the way when you remove the ball joint from the wheel upright. Unbolting the shock makes it even easier
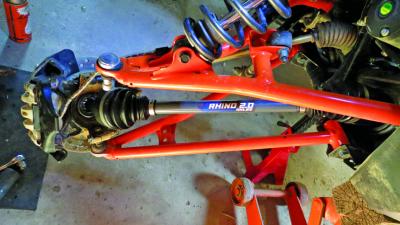
The new Rhino 2.0 axle installed, and the wheel upright ready to go back on
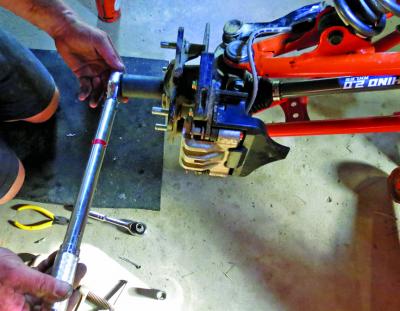
Be sure to torque the axle nut to the correct torque specs, and install the cotter pin. Tighten all bolts and double check your work.
The Rhino 2.0 CV cage and bearings (LEFT) are much larger than the original Rhino axle parts (Right)
5.
CLEANUP TIME. Wipe off any remaining grease and grit. Now inspect the splines and any other parts for wear. We like to include a dab of good quality lithium grease on the splines for installation.
6.
TOGETHER AGAIN. If all parts look good, now reverse the process to reinstall everything.
7.
DOUBLE CHECK. Before you reinstall the wheel be sure to double check you tightened all nuts, (brakes, center axle nut, ball joint) Reinstall the cotter pin, and put the wheel back on. Now remove your machine from the stand and you’ve got one side done.
Changing out our stock axles with worn CV joints for the new Rhino 2 axles takes about an hour. We had no problems with the operation and the General is back ready for action, or as SuperATV likes to say, Built for battle.
SuperATV
Rhino 2.0 Axle for Polaris General$224.95
Phone: 855.743.3427www.superatv.com
Polaris General 1000 Axles For Sale - SuperATV Aftermarket Axles for Polaris General 1000 online.


